There’s something irresistibly modern about liquid glass — a blend of translucency, depth, and soft blur that feels futuristic yet calm. This visual trend, a natural evolution of glassmorphism, brings digital interfaces to life through light diffusion, depth layering, and subtle refractions.
In 2025, liquid glass has matured from a passing aesthetic into a functional design paradigm. From Apple’s iOS design language to premium fintech dashboards and cross-platform apps built in React Native and Flutter, it’s the new benchmark for polished, “premium” interfaces.
In this article, we’ll explore:
- What liquid glass UI really means for designers and developers.
- Why it’s trending again in 2025.
- How to implement it efficiently in React Native (with full code examples).
- Under-the-hood insights: how blur rendering works and how to optimize performance.
- Accessibility and UX guidelines for real-world apps.
- Best libraries for React Native and Web (with comparisons and version notes).
What Is Liquid Glass UI?
From Glassmorphism to Liquid Glass
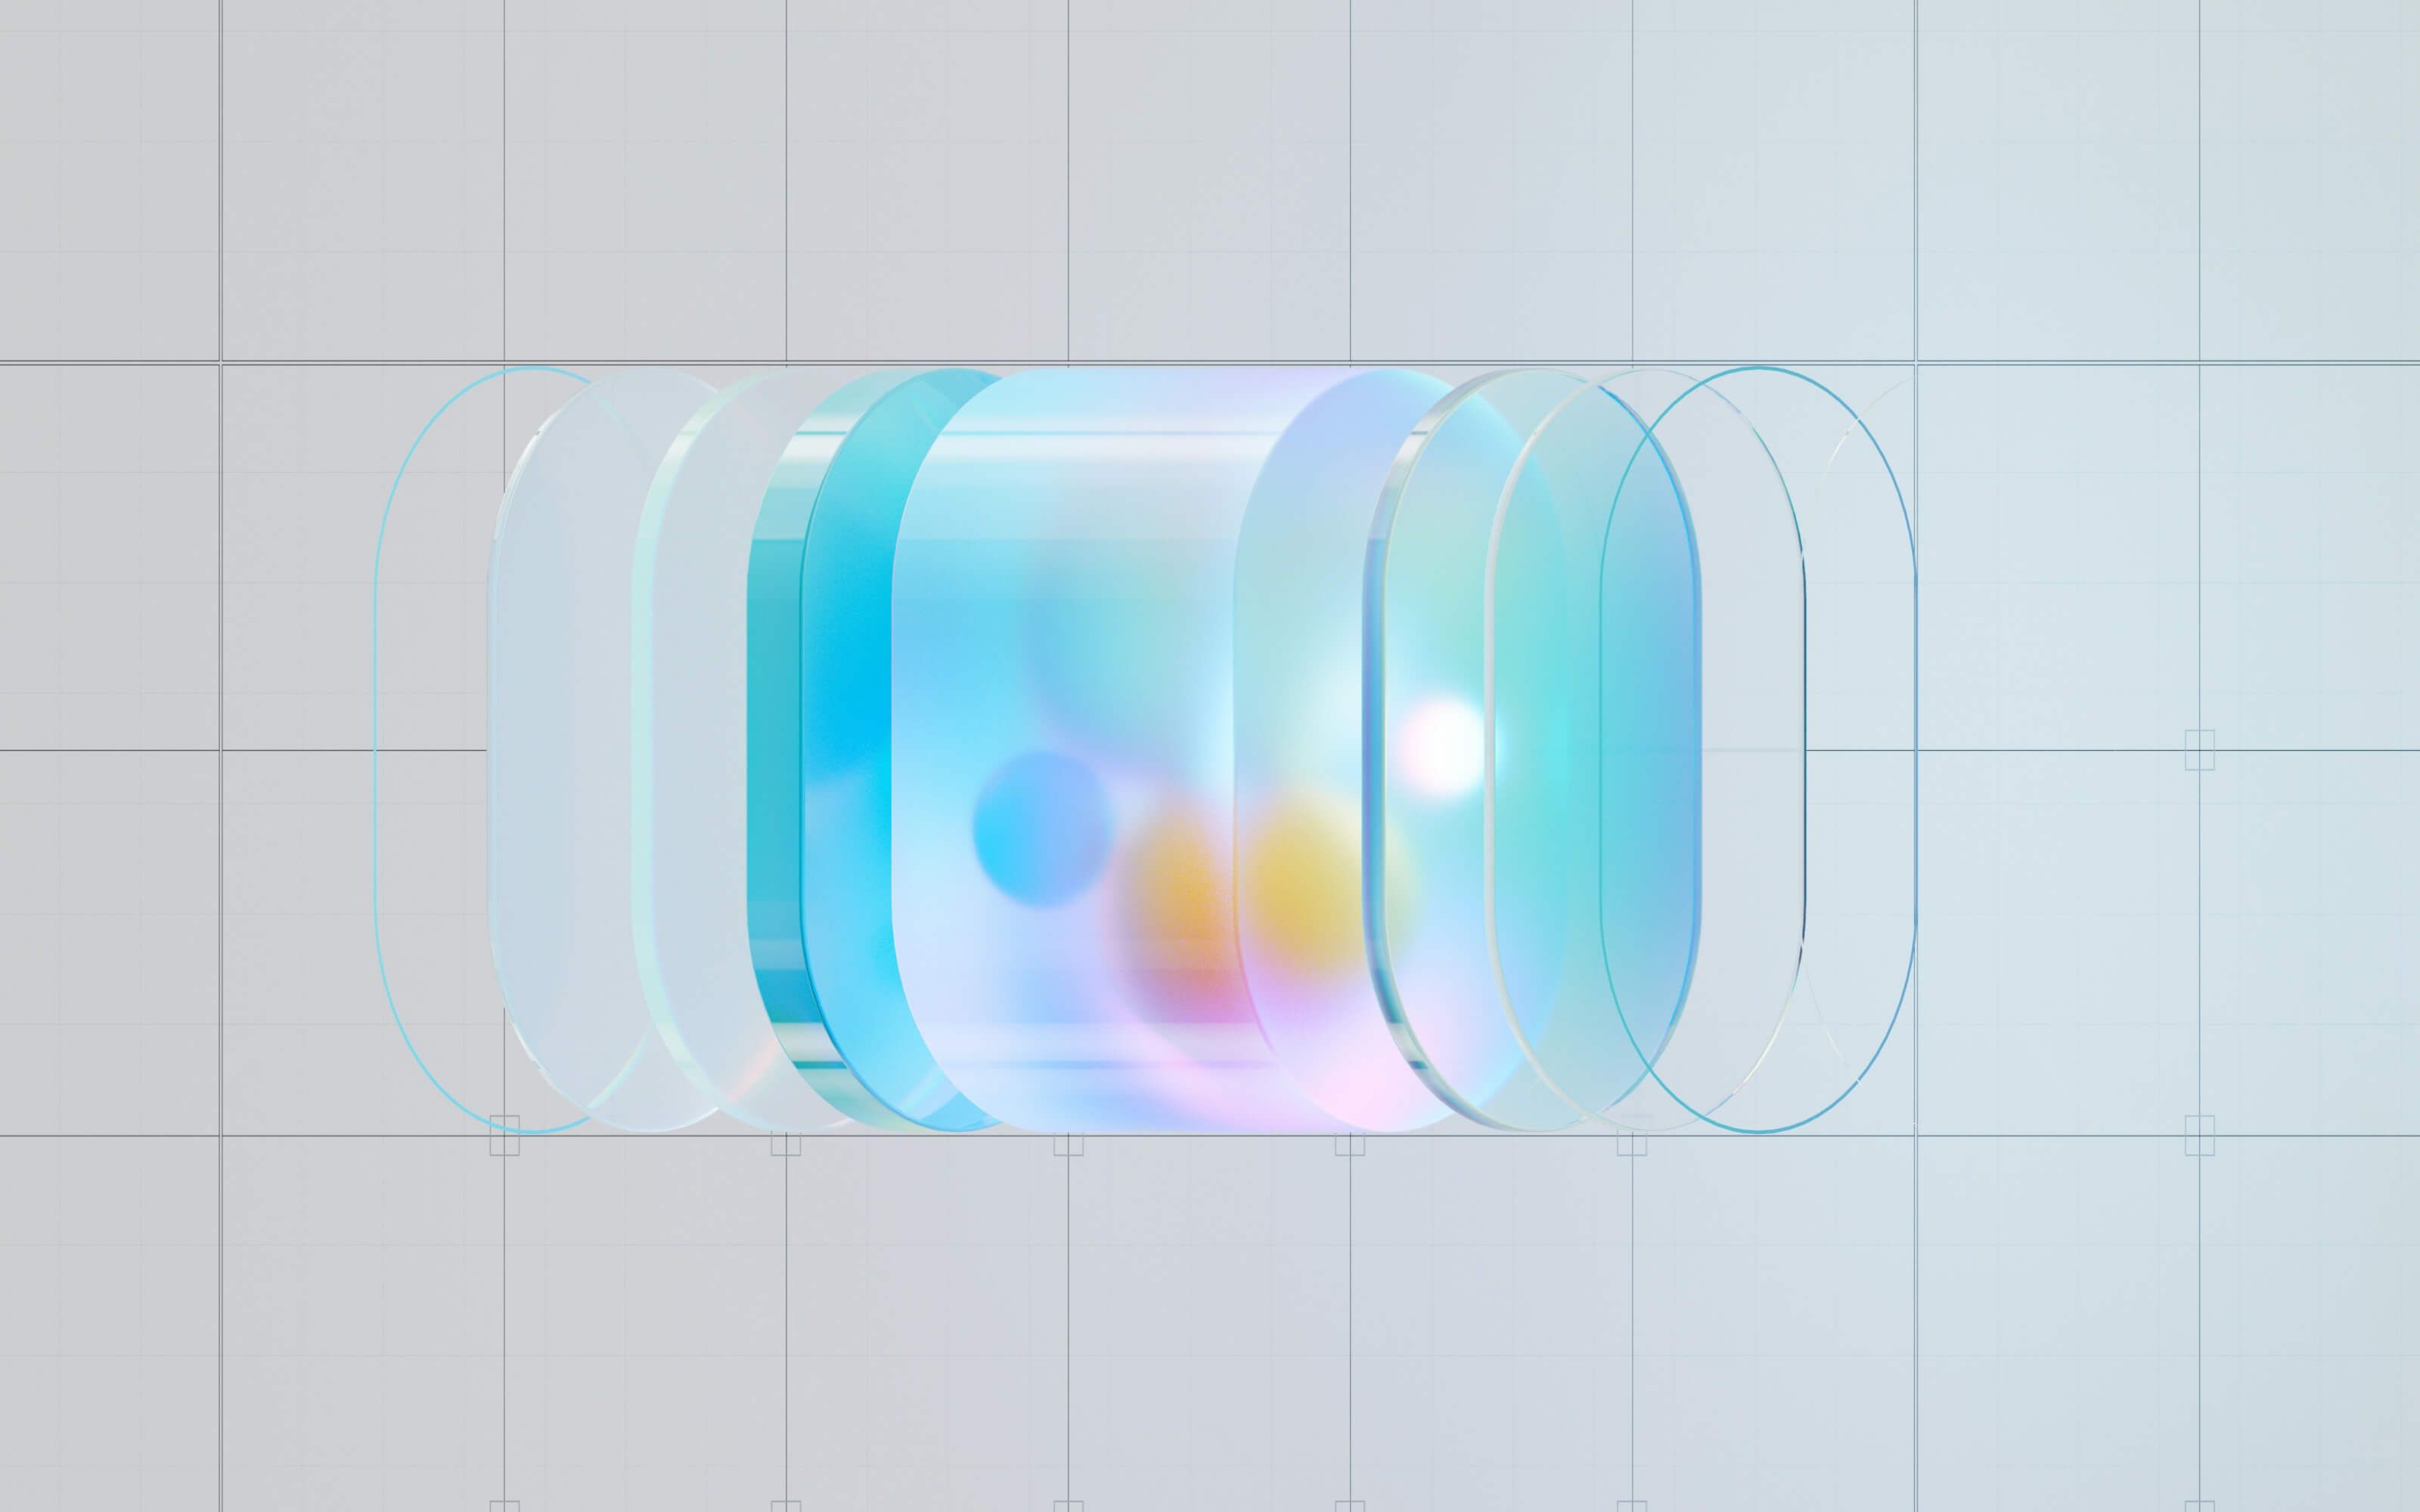
Glassmorphism was popularized around 2020–2021 — defined by semi-transparent layers, blurred backgrounds, and floating elements with soft shadows. It mimicked the look of frosted glass, often overlaid on colorful gradients.
Liquid Glass, however, goes a step further. It’s responsive and dynamic: layers shift with motion, refraction changes with light, and blur intensity adapts to interaction.
Key Visual Elements:
- Real-time translucency with adaptive blur depth.
- Layered perception — elements feel suspended in space.
- Dynamic reflections and smooth, fluid animations.
- Soft edges that respond to motion and user input.
💡 Think of Liquid Glass as “living glass” — not static frosting, but an interactive surface that breathes.
A Brief History of Glassmorphism
The journey to today’s liquid aesthetics spans over a decade of visual evolution.
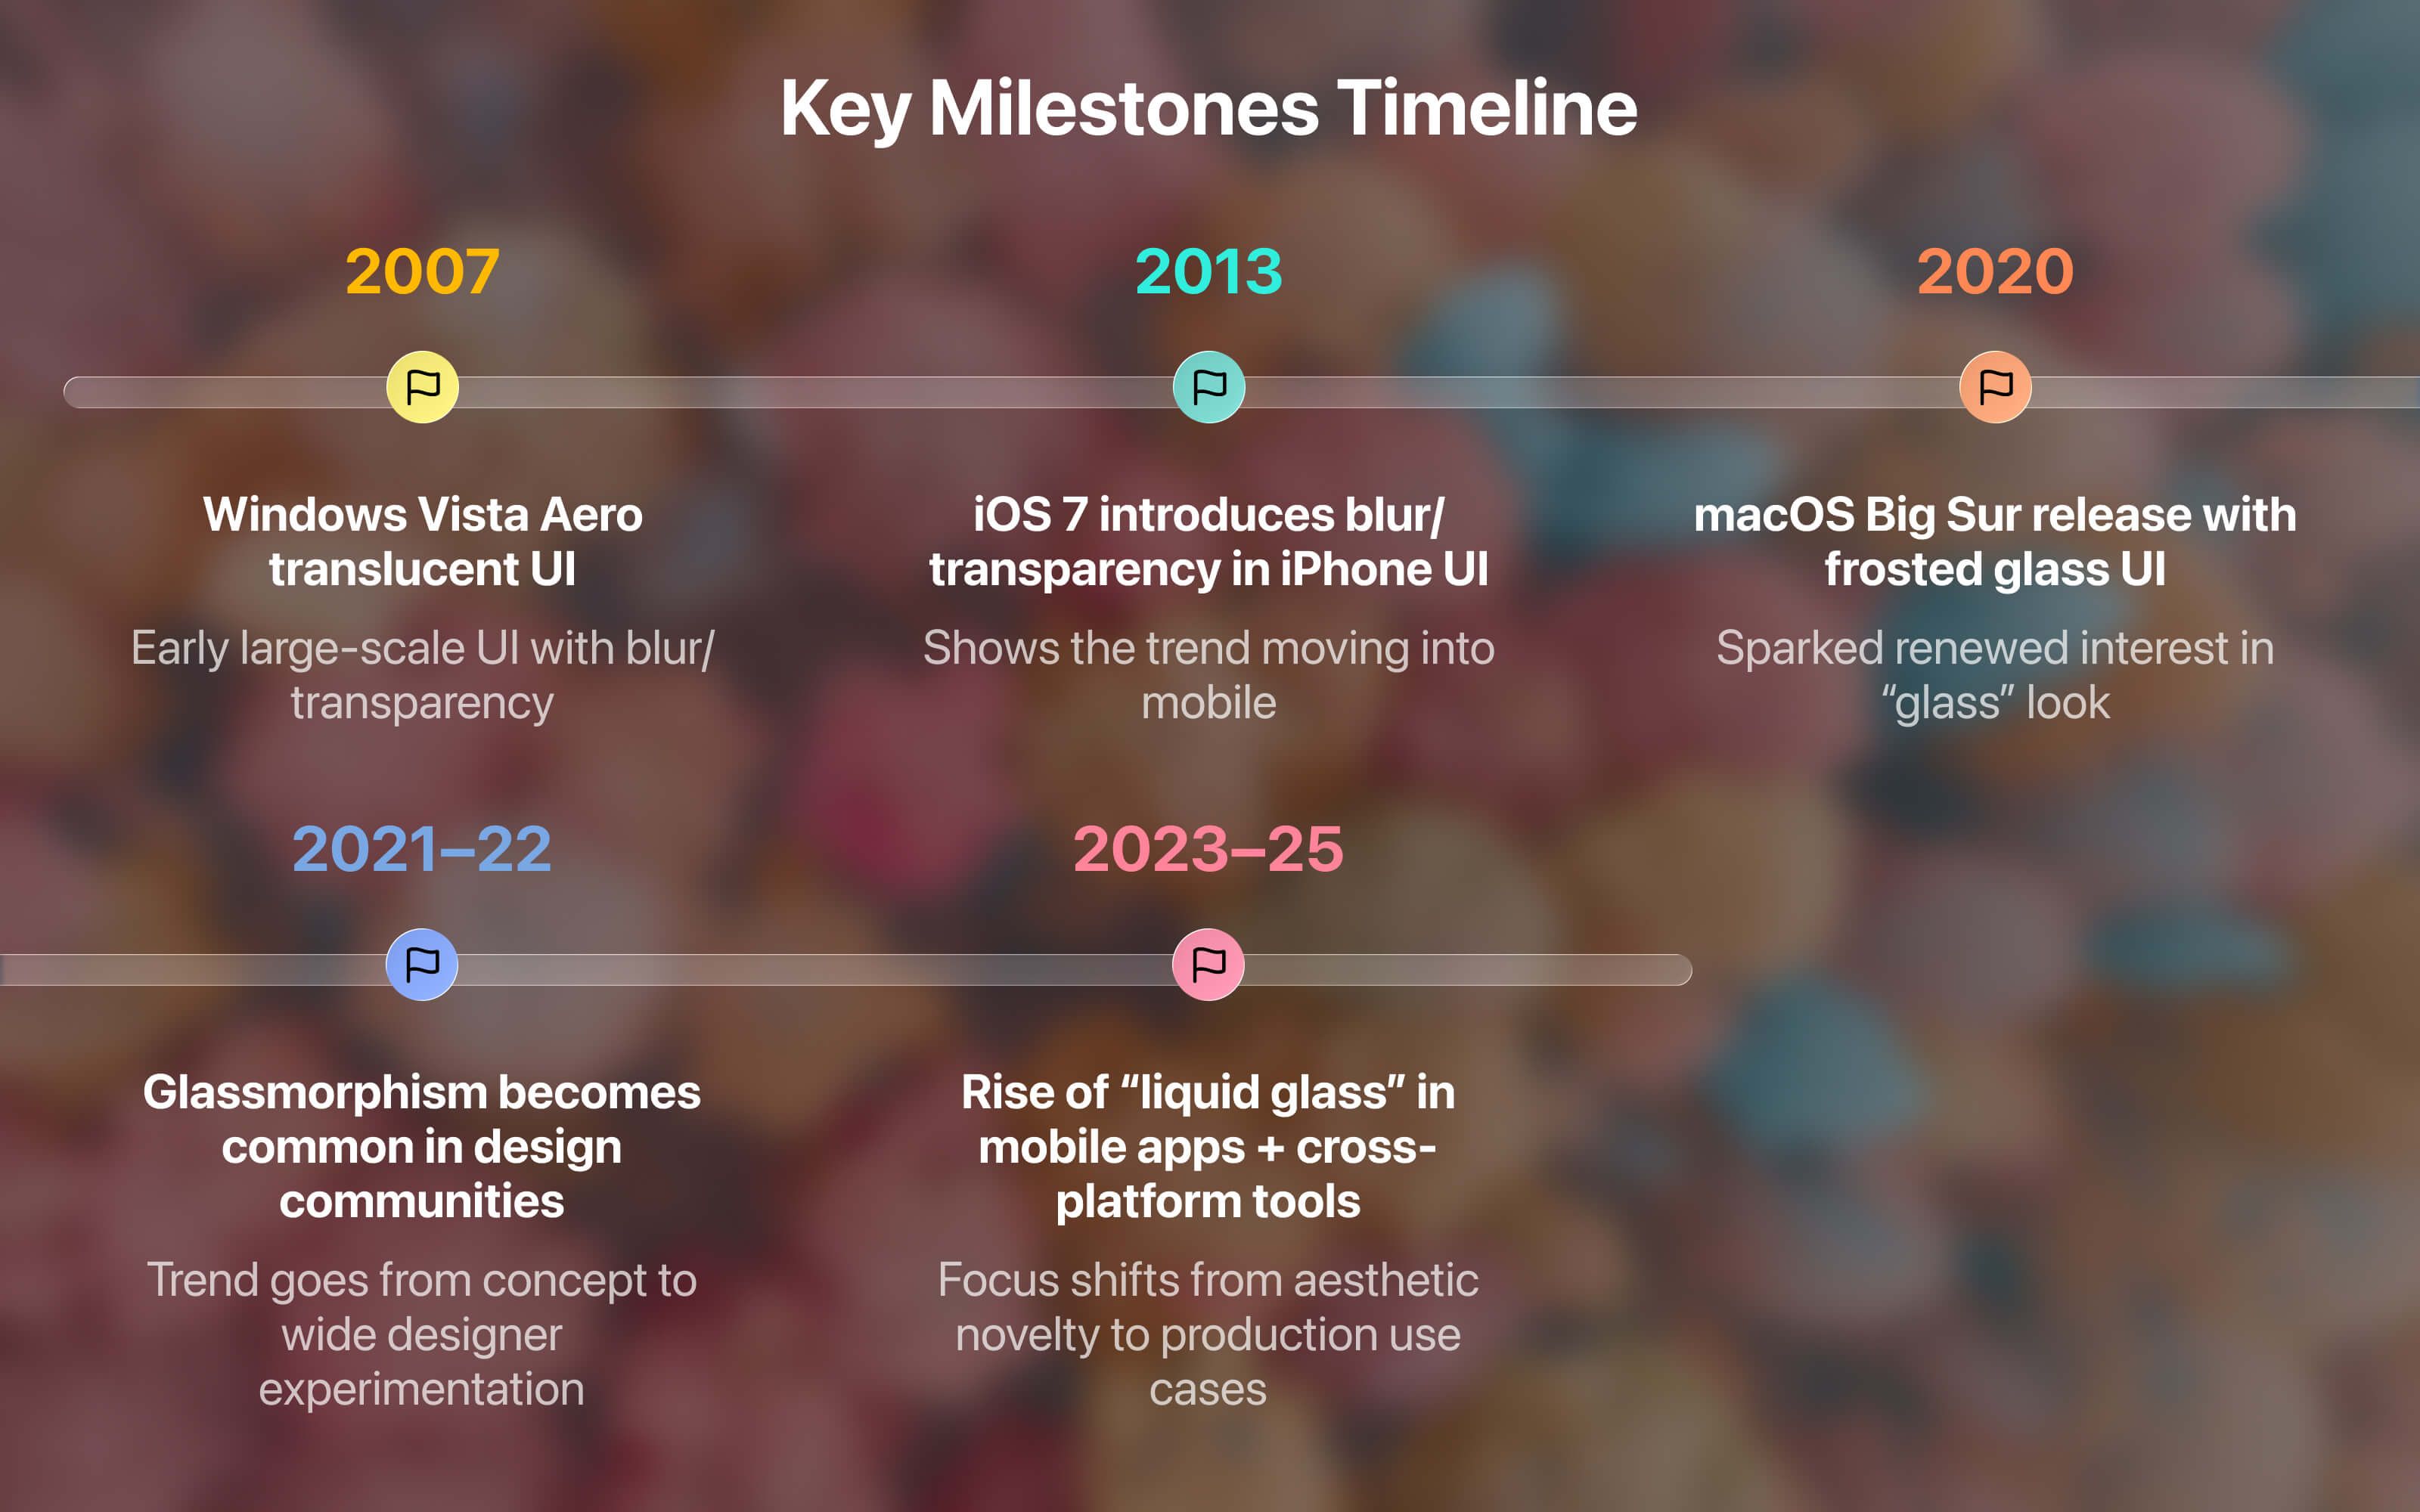
Early Influences (2007–2013)
- Windows Vista (2007): Introduced the “Aero Glass” interface — the first large-scale use of translucency and blur in UI.
- iOS 7 (2013): Apple brought blur and translucency to mobile (e.g., Control Center), setting a new aesthetic standard.
Trend Emergence (2019–2021)
- “Glassmorphism” gained traction in 2020 following macOS Big Sur’s translucent surfaces.
- Designer communities (Dribbble, Behance) rapidly adopted the style, experimenting with floating cards and blurred panels.
Maturation (2022–2025)
- Platforms like Windows 11’s Fluent Design adopted “Acrylic” materials — a hybrid of blur, transparency, and tint.
- CSS backdrop-filter gained full browser support, making glass UIs feasible on the web.
- Designers pushed toward motion, adaptive depth, and real-time light behavior — giving rise to liquid glass UI.
Why It’s Trending in 2025
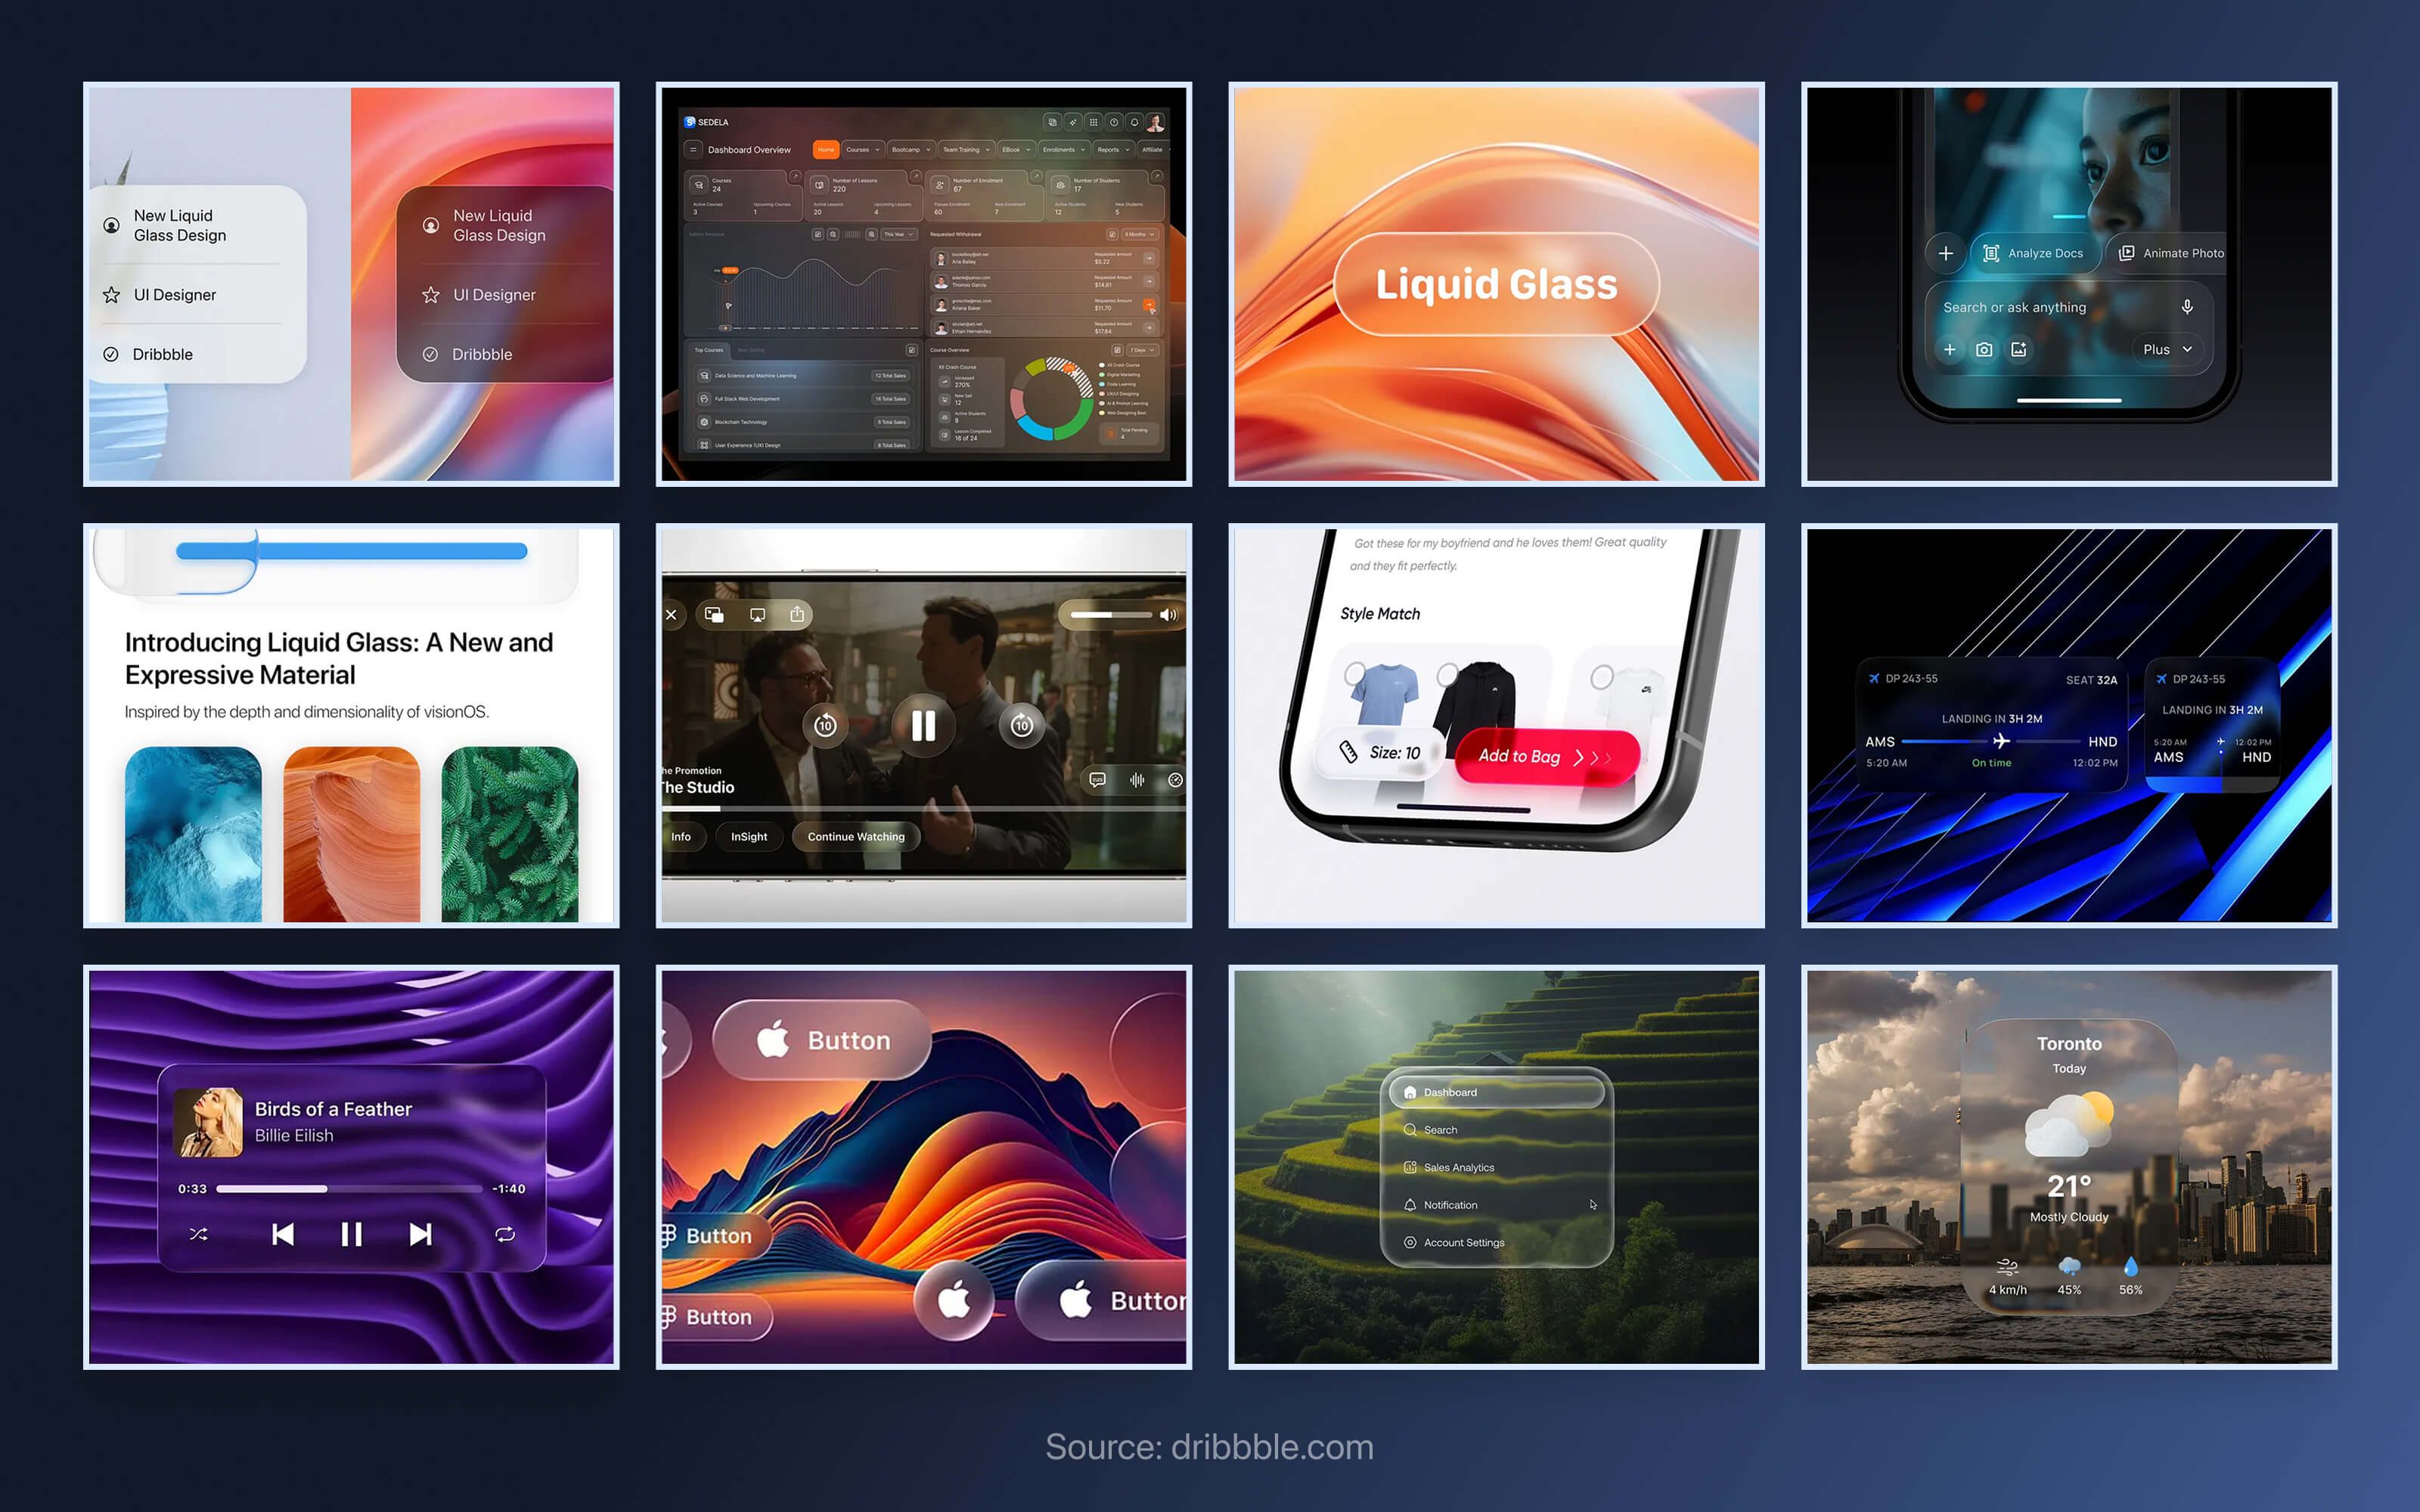
Several converging factors explain its resurgence:
- Hardware Power: Modern GPUs (A17 Pro, Snapdragon 8 Gen 3) handle real-time blur with negligible lag.
- Spatial UX: As AR and 3D interfaces rise, layered depth and realism are in demand.
- Premium Feel: Brands associate glass-like visuals with clarity, calmness, and luxury.
- Cross-Platform Readiness: React Native, Flutter, and Web now offer mature APIs for blur and translucency, bridging iOS and Android parity.
Under the Hood: How Liquid Glass Rendering Works
Understanding what happens behind the blur helps you optimize performance.
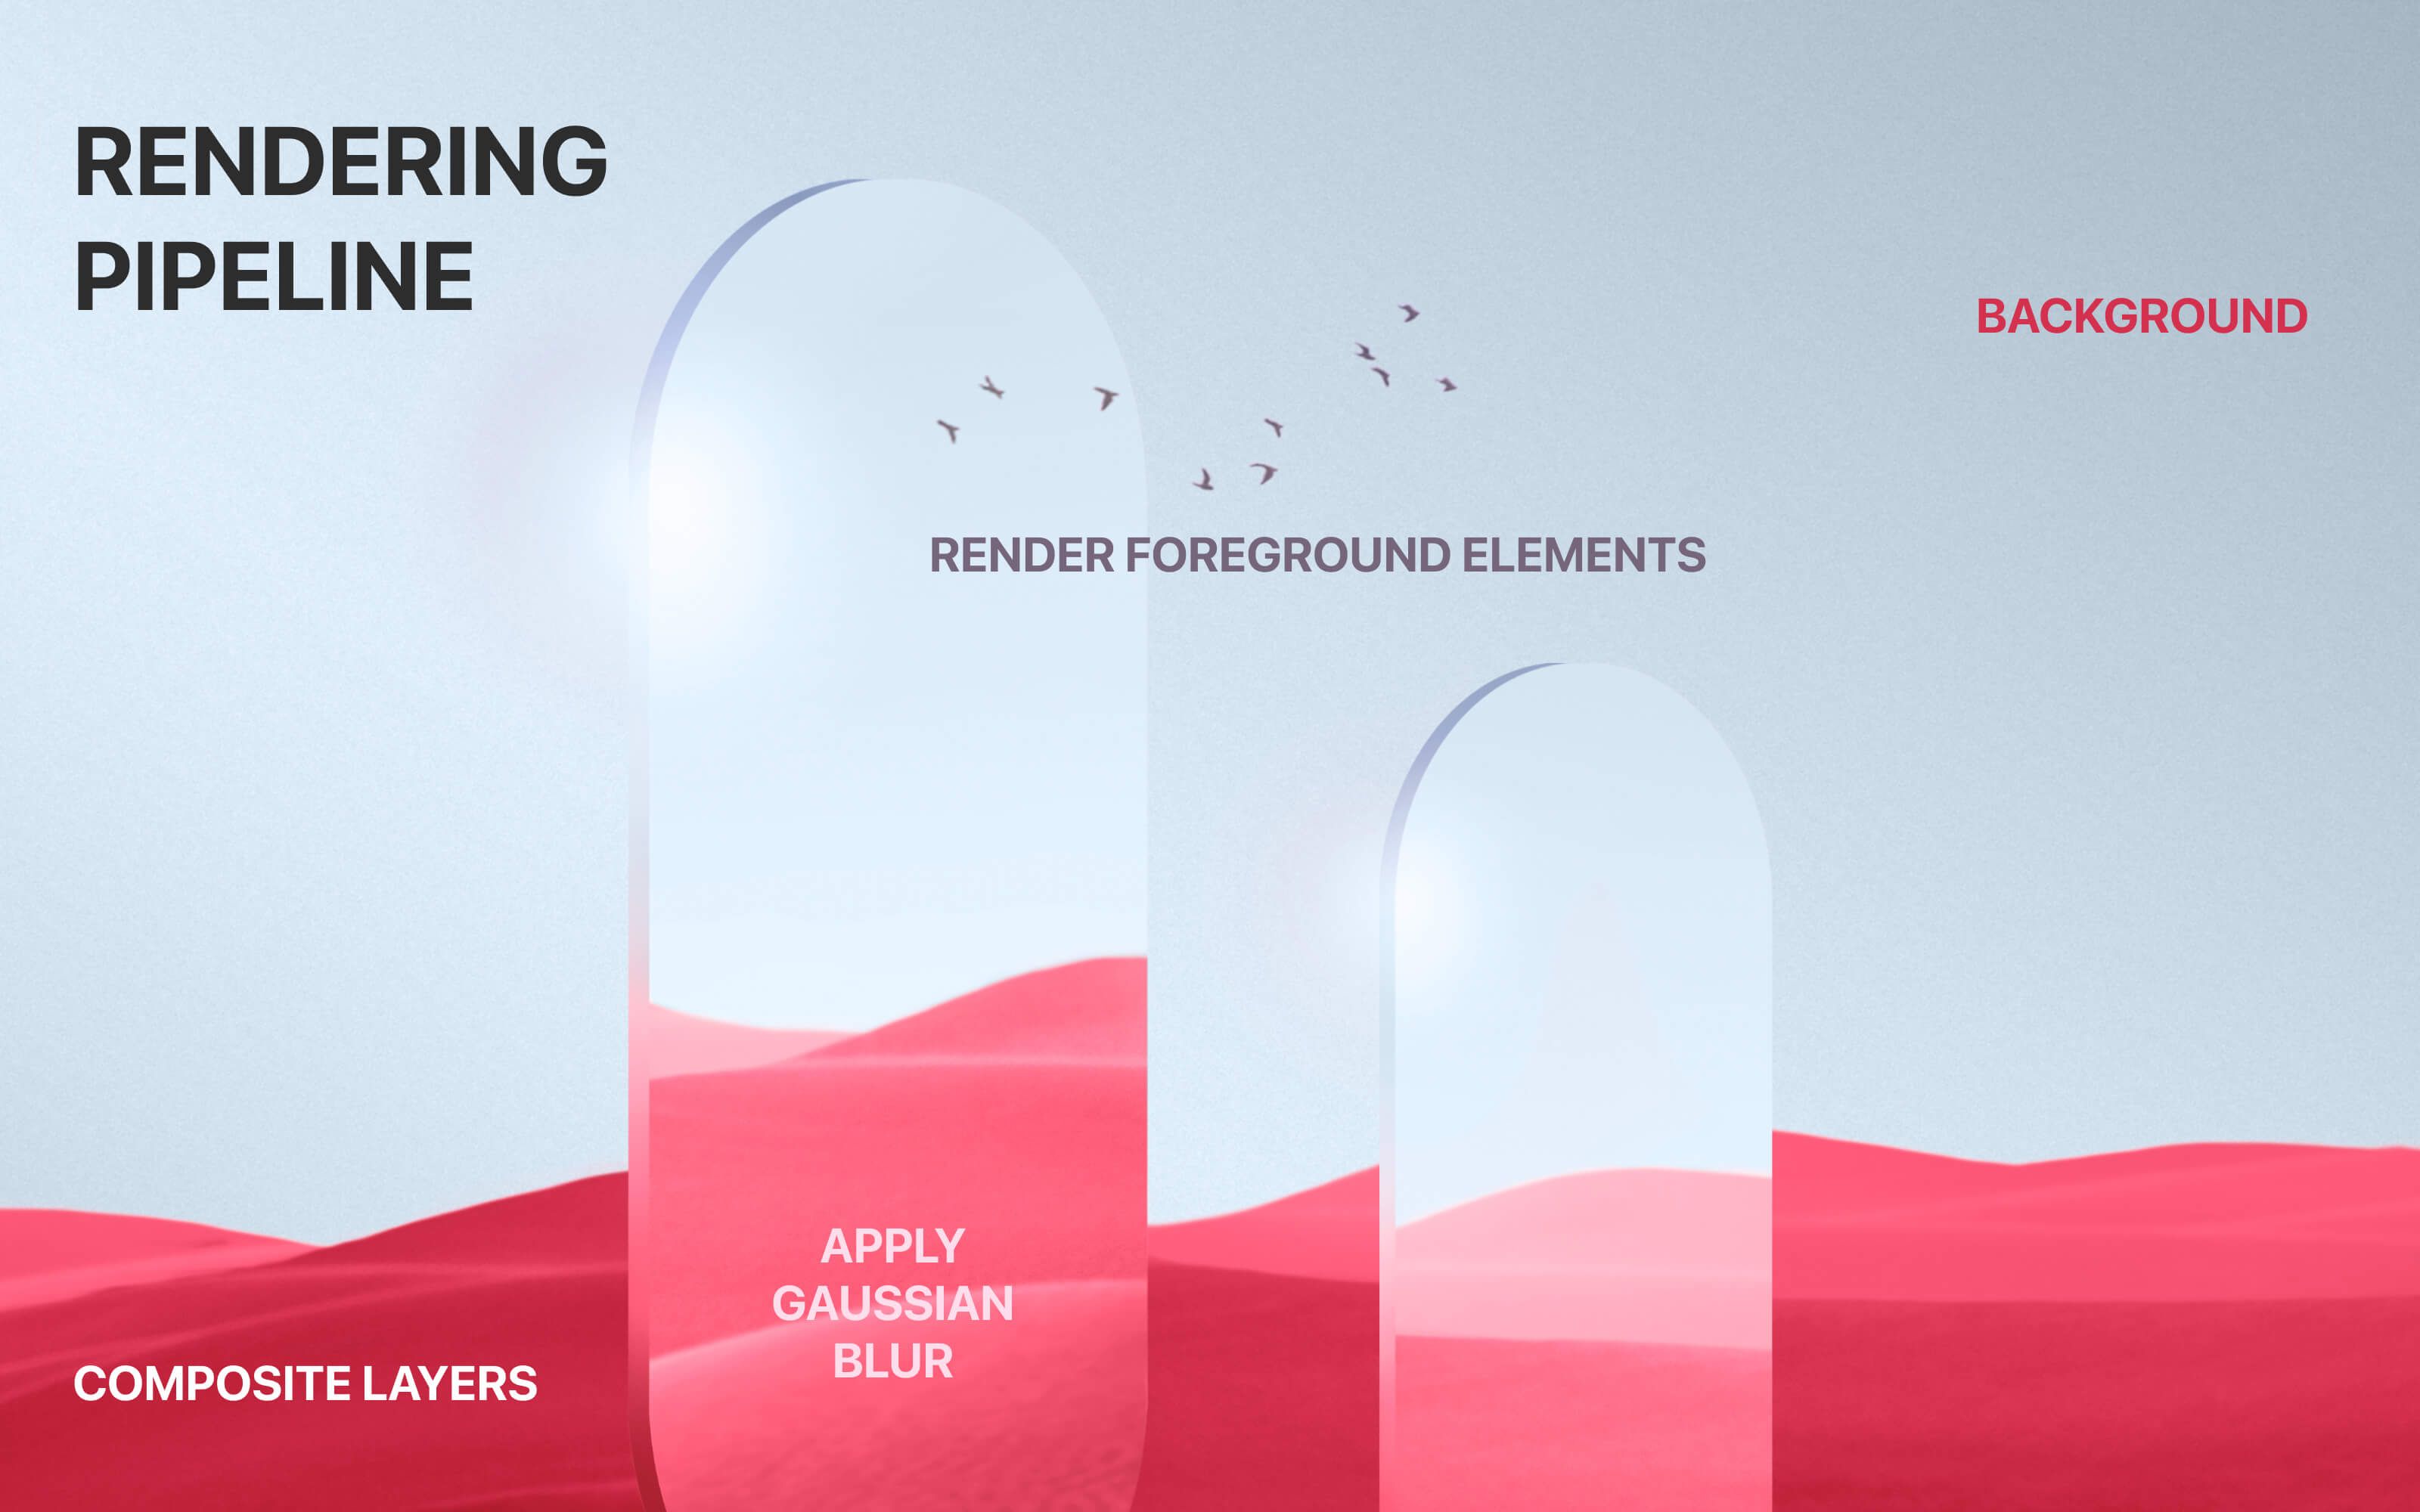
Rendering Pipeline
- Render Background Layers — The app draws underlying content (images, gradients, etc.).
- Apply Gaussian Blur — A fragment shader samples neighboring pixels to produce a diffused look.
- Composite Layers — The blurred image is composited with a translucent overlay (tint, gradient).
- Render Foreground Elements — Text or icons are drawn atop the glass surface.
// Conceptual rendering flow
Render(background);
ApplyGaussianBlur(radius);
Overlay(tint, opacity);
Render(content);
Performance Bottlenecks
- Overdraw: Too many overlapping blur layers increase GPU workload.
- Re-rendering: Continuous blur recalculation during animation drains performance.
- Transparency blending: Alpha compositing on low-end devices can cause flicker.
Optimization Strategies:
| Technique | Description | Effect |
|---|---|---|
| Cache blur textures | Pre-render blurred background once | +20–30% FPS gain |
| Use smaller blur radius | Lower kernel sampling size | Reduces GPU cost |
| Hardware acceleration | Offload to GPU using native APIs | Prevents UI lag |
Implementing Liquid Glass in React Native
Step 1: Setup
For Expo projects:
npx create-expo-app LiquidGlassDemo
cd LiquidGlassDemo
npm install expo-blur
For bare React Native:
npx react-native init LiquidGlassDemo
npm install @sbaiahmed1/react-native-blur
Step 2: Create a Frosted Glass Card
Using expo-blur:
import { View, Text, ImageBackground, StyleSheet } from "react-native";
import { BlurView } from "expo-blur";

export default function FrostedCard() {
  return (
    <ImageBackground
      source={{ uri: "https://source.unsplash.com/800x600/?abstract" }}
      style={styles.background}
    >
      <BlurView intensity={60} tint="light" style={styles.card}>
        <Text style={styles.title}>Liquid Glass UI</Text>
        <Text style={styles.text}>Elegant. Soft. Modern.</Text>
      </BlurView>
    </ImageBackground>
  );
}

const styles = StyleSheet.create({
  background: { flex: 1, justifyContent: "center", alignItems: "center" },
  card: {
    width: 300,
    padding: 20,
    borderRadius: 20,
    alignItems: "center",
    backgroundColor: "rgba(255,255,255,0.1)",
  },
  title: { fontSize: 22, fontWeight: "600", color: "#fff" },
  text: { fontSize: 16, color: "#f2f2f2" },
});
Step 3: Reusable GlassContainer Component
Encapsulate the logic for scalable use:
export const GlassContainer = ({ children, blur = 50, tint = "dark" }) => (
  <BlurView
    intensity={blur}
    tint={tint}
    style={{
      backgroundColor: "rgba(255,255,255,0.1)",
      borderRadius: 20,
      padding: 16,
    }}
  >
    {children}
  </BlurView>
);
Use it across screens as:
<GlassContainer>
  <Text style={{ color: "#fff" }}>Reusable Glass UI</Text>
</GlassContainer>
Libraries & Packages for Blur and Glass Effects
React Native
| Library | Platform | Features | Ideal For | RN Compatibility |
|---|---|---|---|---|
| @sbaiahmed1/react-native-blur | iOS / Android | GPU-accelerated blur, Fabric support | Cross-platform | 0.72+ |
| expo-blur | Expo | Built-in, simple API | Quick prototypes | SDK 51+ |
| react-native-skia | Cross-platform | Custom shader-based blur, best performance | Production-grade UIs | 0.73+ |
| react-native-blur-overlay | iOS / Android | Lightweight overlay simulation | Low-end devices | 0.70+ |
Web / React
| Library | Description | Use Case |
|---|---|---|
| glasscn-ui | Prebuilt React components for glassmorphism | Dashboards, web apps |
| react-liquify | Motion toolkit for “liquid” transitions | Animated UIs |
| react-glassmorphism-ui | Minimal card & modal components | Lightweight projects |
Library Performance Comparison
| Library | Avg FPS (Mid-tier Device) | Bundle Size | Notes |
|---|---|---|---|
| expo-blur | 55–60 | ~120KB | Easy to use but less flexible |
| @sbaiahmed1/react-native-blur | 60+ | ~100KB | Best cross-platform balance |
| react-native-skia | 60+ stable | ~400KB | Most customizable |
| react-native-blur-overlay | 58 | ~70KB | Low GPU impact, limited realism |
Adding Motion & Interactivity
Combine blur with animation libraries like react-native-reanimated or moti to bring the glass to life:
import Animated, { useAnimatedStyle, withTiming } from "react-native-reanimated";
const style = useAnimatedStyle(() => ({
  opacity: withTiming(0.9, { duration: 400 }),
  transform: [{ scale: withTiming(1.02) }],
}));
Add this style to your BlurView for smooth press or scroll feedback.
Performance Optimization Tips
Designing a Liquid Glass UI is visually rewarding, but without careful optimization, it can quickly become a performance bottleneck — especially on mobile devices. Here’s how to achieve buttery-smooth results:
- Limit Blur Layers:
- Keep your UI to a maximum of 1–2 blur layers per screen.
- Each additional blur view compounds GPU and CPU usage.
- For overlays (like modals), stack one blur view and layer other UI elements above it using z-index.
Enable Hardware Acceleration:
Use the prop renderToHardwareTextureAndroid={true} in React Native views to offload rendering to the GPU.
<BlurView
   style={styles.blurContainer}
   blurType="light"
   blurAmount={20}
   renderToHardwareTextureAndroid
 />
On web, ensure the use of will-change: transform; or backdrop-filter with GPU-accelerated layers to enhance performance.
Dynamic Blur Scaling:
Implement device capability detection using Platform or DeviceInfo and dynamically adjust blur intensity.
This ensures older devices maintain smooth frame rates without sacrificing visual quality.const blurAmount = isLowEndDevice ? 5 : 20;Cache Blurred Backgrounds:
Avoid recomputing blur on every render. Pre-render blurred images and store them in state or cache.
Example using react-native-fast-image:<FastImage source={{ uri: cachedBlurBackground }} style={StyleSheet.absoluteFill} />Monitor Performance:
Regularly profile rendering using:- React Native Performance Monitor (Cmd + D → “Show Perf Monitor”)
- Instruments (iOS) or Android Profiler for GPU/frame analysis
- Flipper Plugin for deeper performance insights
Pro Tip: Combine blurs with lightweight shadows instead of multiple stacked glass elements for the same depth effect with lower cost.
Accessibility & UX Best Practices
Accessibility is critical for any modern UI — even more so with semi-transparent designs. Here’s how to ensure Liquid Glass remains elegant yet inclusive:
Maintain Adequate Contrast:
Always verify text visibility against varying backgrounds using tools like WCAG Contrast Checker.Respect System Accessibility Settings:
React Native provides access to user preferences such as “Reduce Transparency” and “Reduce Motion.”
import { AccessibilityInfo } from 'react-native';
const prefersReducedTransparency = await AccessibilityInfo.isReduceTransparencyEnabled();
Use Glass as an Accent, Not the Foundation:
Keep glass effects for cards, toolbars, and modals — avoid full-screen glass backgrounds to prevent readability issues.Ensure Theme Compatibility:
Test Liquid Glass designs under both light and dark modes to ensure text and icons retain visibility and depth.
Pro Tip: For users with blur disabled, offer a non-blurred fallback:
backgroundColor: 'rgba(255,255,255,0.15)'
Integrating Liquid Glass into Your Design System
To take Liquid Glass beyond prototype stages and embed it as a core part of your product, it should be standardized within your design system — this ensures consistent branding and user experience across platforms. At Cygnis, we specialise in mobile app development services and cross-platform UI/UX that bring this kind of premium interface to life.
Tokenize Glass Properties:
Define tokens for blur amount, tint color, saturation, and corner radius in your design tokens (JSON or Figma).{ "glass.blur.light": 20, "glass.tint.primary": "rgba(0, 123, 255, 0.25)", "glass.radius": 16 }Component Variants: Create reusable variants:
- GlassCard.Frosted → Subtle tint and high blur
- GlassCard.Translucent → Low blur, strong background
- GlassCard.Dynamic → Changes blur based on content brightness
Brand-Driven Customization: Overlay brand colors as faint tints to unify design across web and mobile apps.
Cross-Platform Consistency: Example at Cygnis:
A unified token set that keeps Liquid Glass identical in React Native, Web, and Flutter environments through shared design tokens and stylesheets.
Pro Tip: Maintain these tokens in a central repository (e.g., Style Dictionary, Tokens Studio) to ensure parity between design and development.
Conclusion: Liquid Glass Done Right
Liquid glass is more than a design fad — it’s a visual philosophy that blends realism, motion, and emotional calm. When executed thoughtfully, it creates immersive, premium digital experiences.
With libraries like expo-blur, react-native-skia, and @sbaiahmed1/react-native-blur, and the right performance strategies, your apps can look stunning and run smoothly.

